
Master the Art of Small-Batch Cider Crafting at Home
- warmlimes
- Sep 15, 2025
- 4 min read

Did you know Fruit Forest Fatm can provide custom mixes of apples for you to produce your own cider or juice?
Crafting cider at home is a rewarding and enjoyable hobby that allows you to create a delicious beverage tailored to your taste. Whether you prefer a dry, crisp cider or a sweet, fruity one, making cider in small batches gives you control over every step of the process. This guide will walk you through the essentials of home cider making, from selecting apples to fermentation and bottling.
Getting Started with Crafting Cider at Home
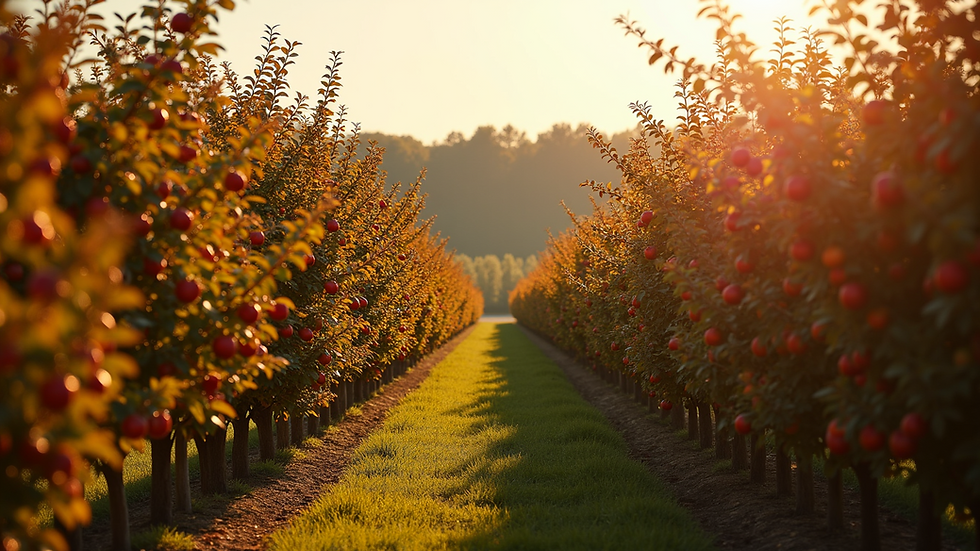
The first step in crafting cider at home is choosing the right apples. The flavor of your cider depends heavily on the apple varieties you use. Traditional cider apples are often a mix of sweet, tart, and bitter apples to balance the taste. However, you can experiment with any apples available to you.
Sweet apples add sugar and body (e.g., Liberty, Novamac).
Tart apples contribute acidity and brightness (e.g., Bramley, Grimes Golden).
Bitter apples provide tannins for complexity (e.g., Kingston Black).
Once you have your apples, wash and crush them to extract the juice. You can use a manual or electric apple crusher and press. If you don’t have these tools, a clean blender and a fine mesh strainer can work for small quantities.

After pressing, collect the juice in a sanitized container. It’s important to keep everything clean to avoid unwanted bacteria or wild yeasts that can spoil your cider.
Essential Equipment and Ingredients for Crafting Cider at Home
To craft cider at home successfully, you will need some basic equipment and ingredients:
Fermentation vessel: A glass carboy or food-grade plastic bucket with an airlock.
Sanitizer: To clean all equipment thoroughly.
Yeast: Cider yeast or champagne yeast works well.
Sugar (optional): To adjust sweetness or alcohol content.
Campden tablets (optional): To kill wild yeast and bacteria before fermentation.
Hydrometer: To measure sugar levels and track fermentation progress.
Start by sanitizing all your equipment. Pour the apple juice into the fermentation vessel, add yeast, and seal with an airlock. Keep the vessel in a cool, dark place with a temperature between 15-20°C (59-68°F) for optimal fermentation.
Fermentation usually takes 1 to 3 weeks. You can use a hydrometer to check when the fermentation is complete by measuring the specific gravity. When it remains stable for a few days, your cider is ready for the next step.
What is cider called in Canada?
In Canada, cider is commonly referred to as "cidre" in French-speaking regions, especially in Quebec. The term "cider" is widely used in English-speaking parts of the country. Canadian cider often reflects local apple varieties and regional preferences, ranging from sweet to dry styles. Craft cider culture is growing rapidly, with many small producers focusing on artisanal and traditional methods.
Canadian cider makers often emphasize the use of native apples and natural fermentation techniques. This approach aligns well with home cider crafting, where you can experiment with local apple varieties and create unique flavors.
Tips for Perfecting Your Home Cider
To elevate your home cider crafting experience, consider these practical tips:
Use fresh, ripe apples: The quality of your apples directly affects the cider’s flavor.
Experiment with blends: Mix different apple varieties to find your preferred taste.
Control fermentation temperature: Keep it consistent to avoid off-flavors.
Be patient: Allow cider to mature for several weeks or months for better taste.
Avoid oxygen exposure: Minimize air contact after fermentation to prevent spoilage.
Sweeten after fermentation: If you want a sweeter cider, add sugar or juice after fermentation and stabilize it with Campden tablets.
For those interested in making smaller quantities, consider trying small batch cider kits. These kits provide all the necessary ingredients and equipment in manageable amounts, perfect for beginners or those with limited space.
Bottling and Storing Your Homemade Cider
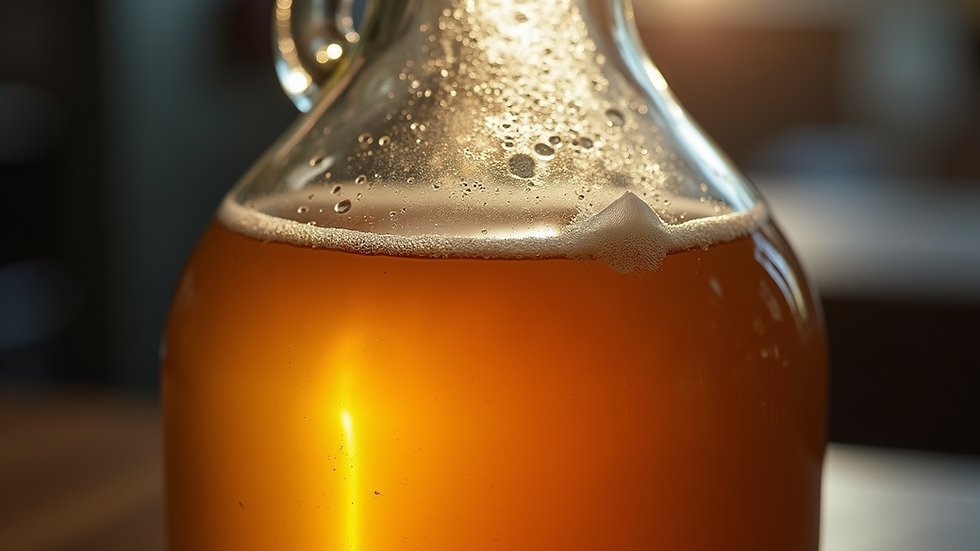
Once fermentation is complete and your cider tastes just right, it’s time to bottle. Use clean, sterilized bottles and caps or corks. If you want sparkling cider, add a small amount of sugar (priming sugar) before sealing to encourage carbonation.
Store your bottles in a cool, dark place. Cider can improve with age, so consider letting it mature for a few months. Always chill before serving for the best flavor.
Proper storage also means monitoring for any signs of spoilage, such as off smells or cloudiness. If you notice these, it’s best to discard the batch.

Embrace the Joy of Home Cider Crafting
Crafting cider at home is more than just making a drink - it’s a creative process that connects you with nature and tradition. With patience and practice, you can produce delicious cider that rivals commercial brands. Whether you’re making a single batch or experimenting with different apple blends, the satisfaction of enjoying your own handcrafted cider is unmatched.
Start small, learn from each batch, and soon you’ll master the art of cider crafting at home. Cheers to your cider-making journey!


Comments